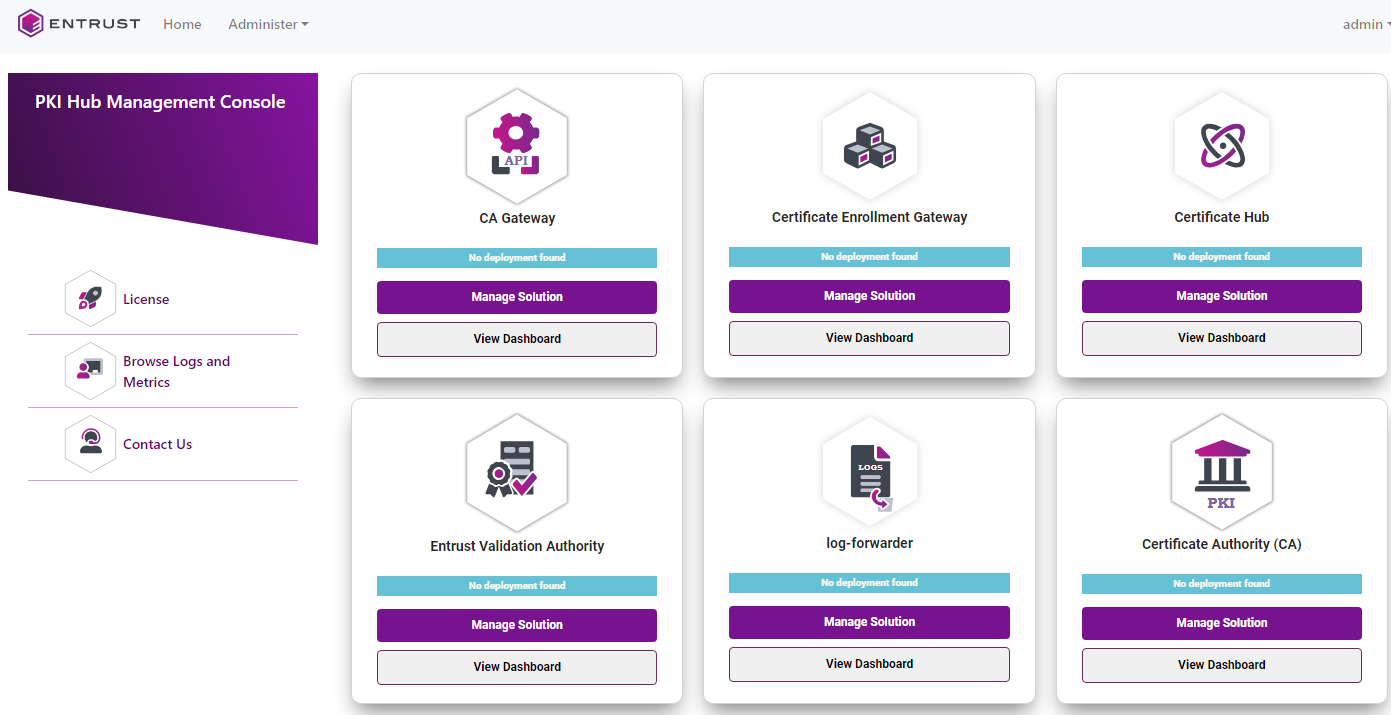
See below for configuring and deploying Timestamping Authority with the Management Console.
Repeat the following steps each time a configuration update is required. Do not forget to click Deploy to make the changes effective.
To configure and deploy Timestamping Authority with the Management Console
Open the following URL in a Web browser.
https://<machine>/management-consoleWhere
<machine>is the IP address or domain name of the machine hosting Entrust PKI Hub.- Log into the Management Console a user belonging to a role with Timestamping Authority management permissions – for example, the initial
adminadministrator user.See Starting up the Management Console for how to manage users and roles.
- In the content pane, click Manage Solution under Timestamping Authority.
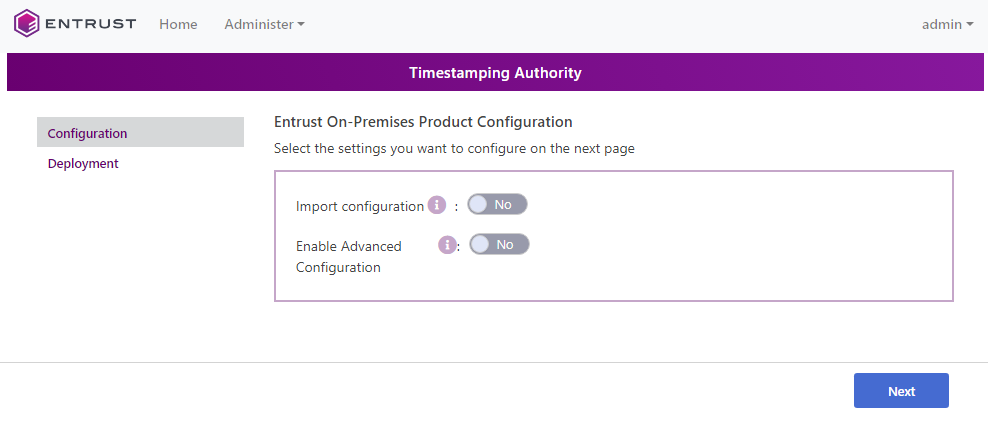
- Activate the Import configuration toggle switch if you want to import configuration settings from a file, such as a sample configuration file included in the product release.
- Active the Enable Advanced Configuration if you want to configure the full set of configuration parameters supported by the solution.
- Click Next.
- Configure the solution settings described in the following sections.
- Click Validate to validate the configured settings.
- Correct any detected configuration error until the Validate option displays no warnings.
- Optionally, click the Download button to export the current configuration. You can later import this configuration with the already mentioned Import configuration toggle switch.
- Click Submit and wait while Entrust PKI Hub uploads the configuration and any attached file, such as a P12 file with authentication credentials.
- Click Deploy.

