Creating a PKIaaS WSTEP Service Account
Create a PKIaaS WSTEP service account for the PKIaaS WSTEP agent and PKIaaS WSTEP server to authenticate all incoming requests from WSTEP clients.
Each root domain in the Active Directory forest requires a separate PKIaaS WSTEP service account, as each Active Directory forest must be configured separately.
To create a PKIaaS WSTEP Service Account
Log into a domain controller of the Active Directory forest's root domain as a user who is a member of both the Domain Admins and Enterprise Admins groups..
The service account created for the PKIaaS Virtual Machine must have read permissions on certificate templates, user objects, and computer objects in LDAP.
Select Start > Windows Administrative Tools > Active Directory Users and Computers to open the Active Directory Users and Computers dialog box.
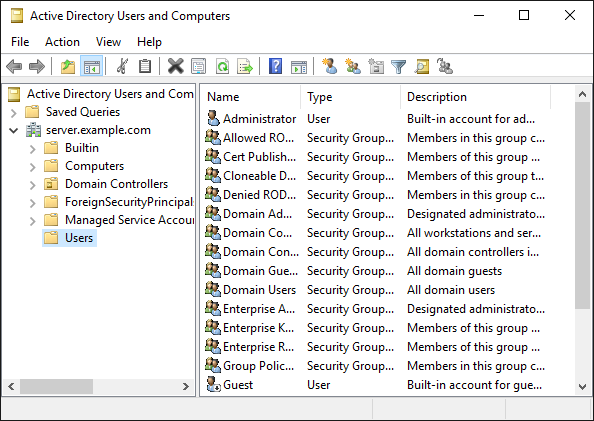
Right-click the folder where you want to create the new account
Select New > User to open the New Object – User dialog box.
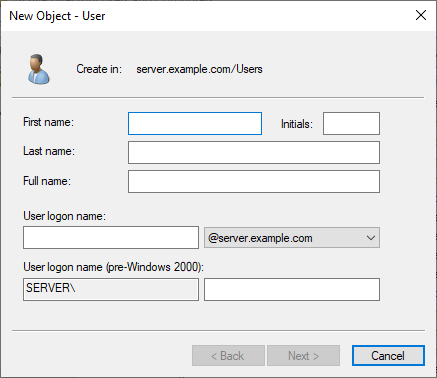
Enter the First name, Last name, and Full name for the new user account.
Enter a Windows User logon name for the user account. Optionally, enter a User logon name (pre-Windows 2000) for pre-Windows 2000 computers.
Click Next to display the password options.
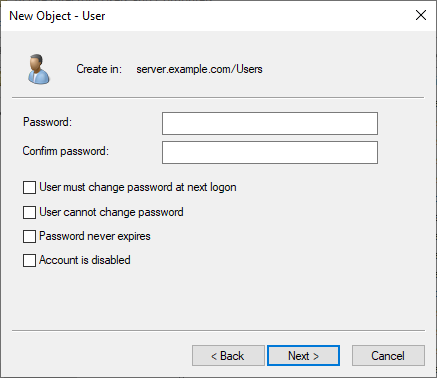
Enter a Password for the user account.
Enter the password again in the Confirm password field.
Deselect User must change password at next logon.
Click Next to display the confirmation dialog.
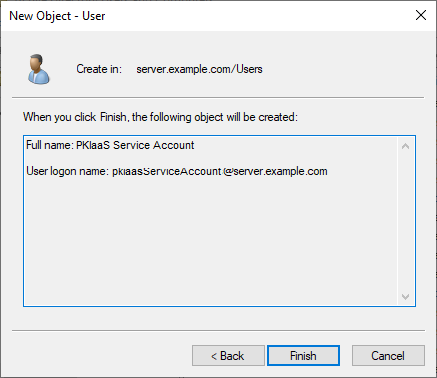
Record the user logon name of the account. You will use this logon name later to add a Service Principal Name (SPN) mapping for Kerberos.
Click Finish.
Double-click the account you just created to display the properties dialog box.

In the Account tab, check the following boxes under Account options:
This account supports Kerberos AES 128 bit encryption.
This account supports Kerberos AES 256 bit encryption.
Click OK.