Creating an Intune application in Azure
In the Microsoft Azure portal, create an application for running the Intune service.
At the end of this process, you should have the Application (client) ID, Directory (tenant) ID, and Client secret values required when Configuring an Entrust-hosted Certificate Enrollment Gateway for Intune.
To create an Intune application in Azure
Log into portal.azure.com as a user with administrative permissions.
Go to Home > App registrations.
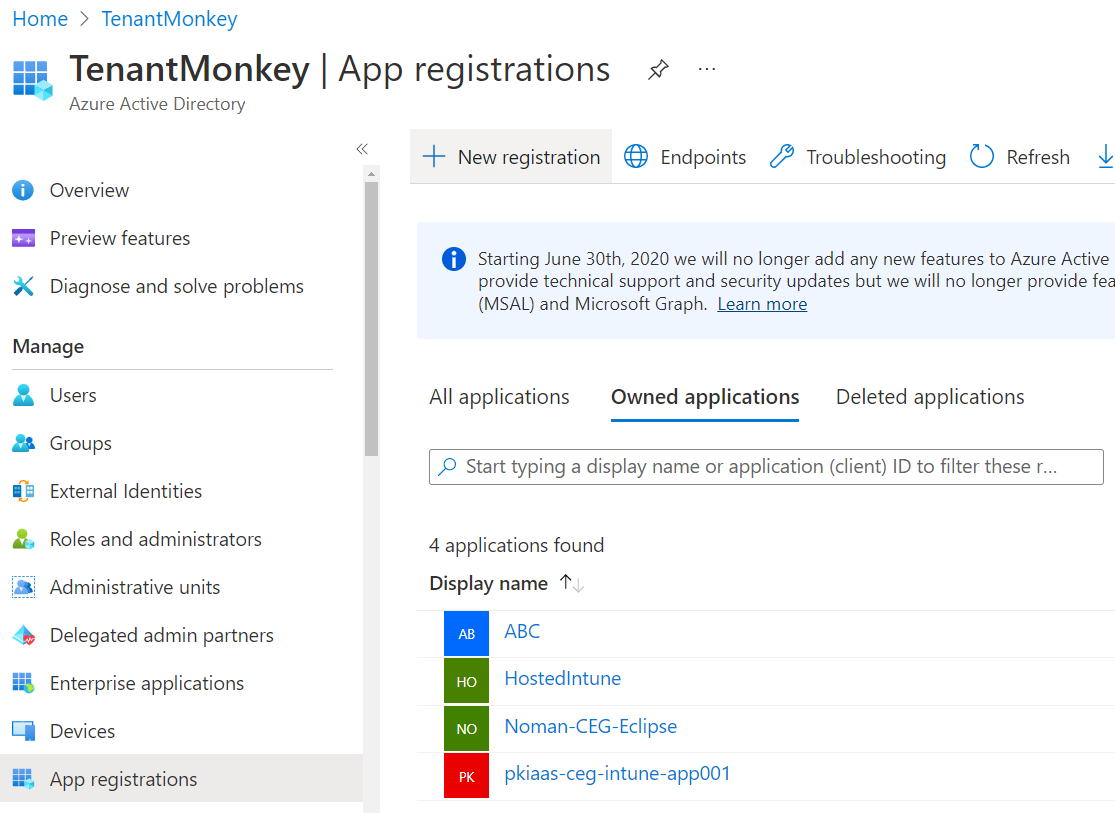
Click New registration to display the Register an application page.
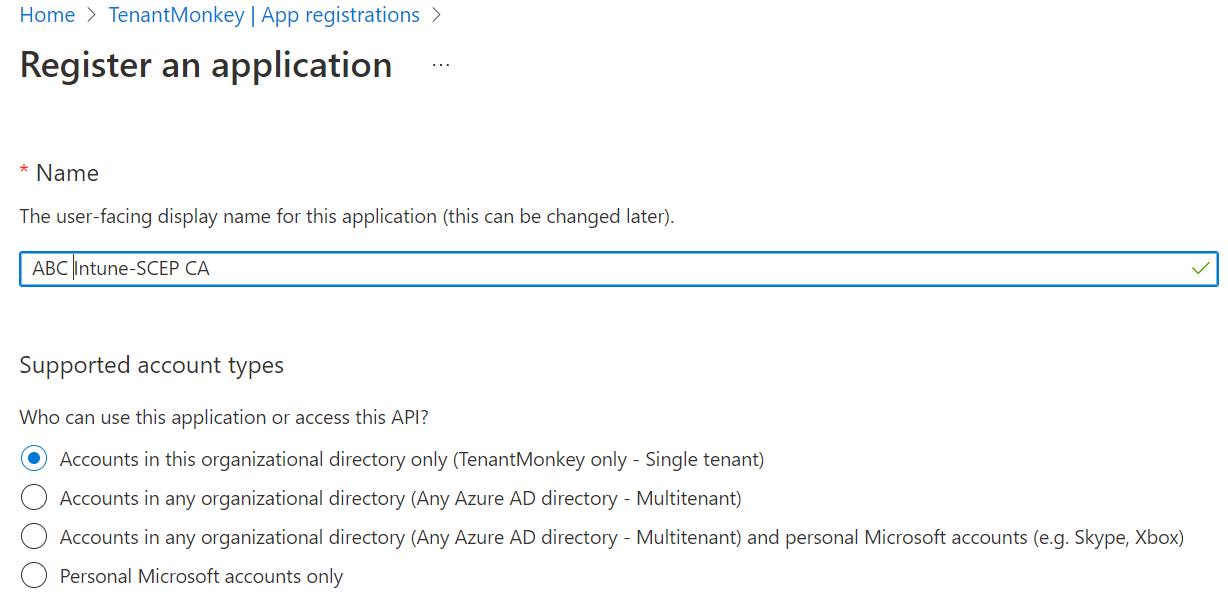
In the Name field, type the name of the new Intune application.
In the Supported account types list, be sure that Accounts in this organizational directory only (TenantMonkey only - Single tenant) is selected.
Click Register to display the details of the new application.
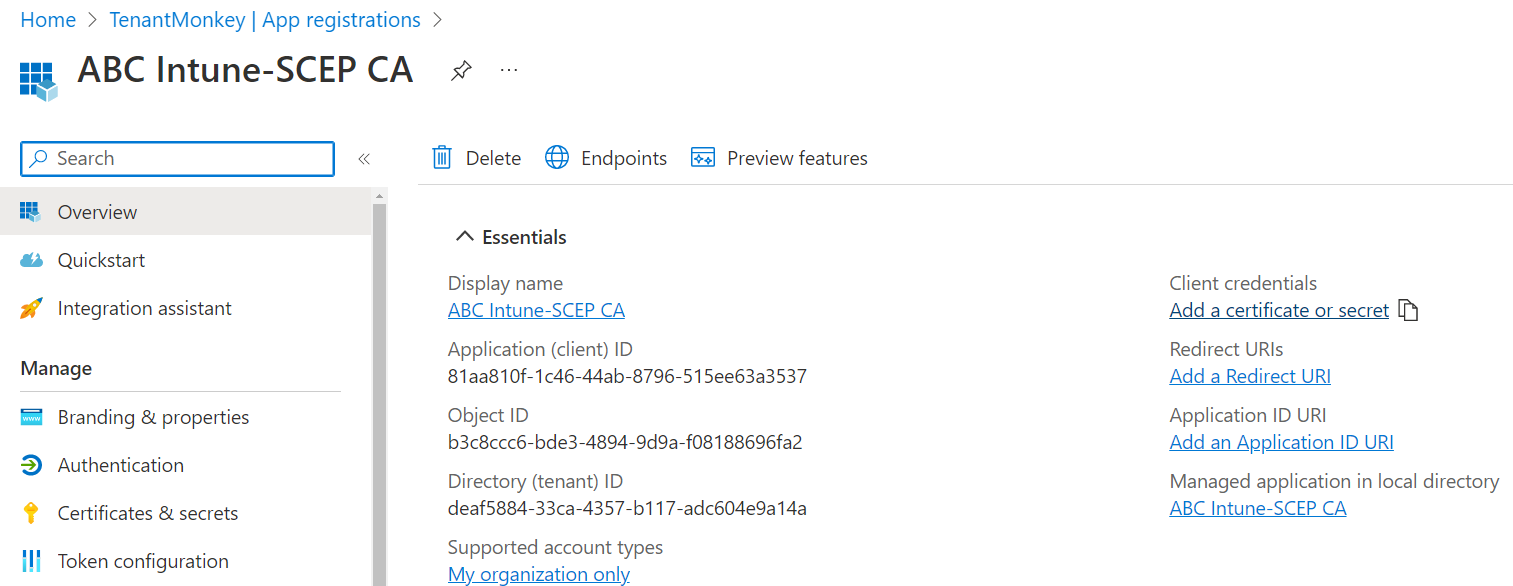
Copy the Application (client) ID and Directory (tenant) ID values in a text file. You will use these values when Configuring an Entrust-hosted Certificate Enrollment Gateway for Intune.
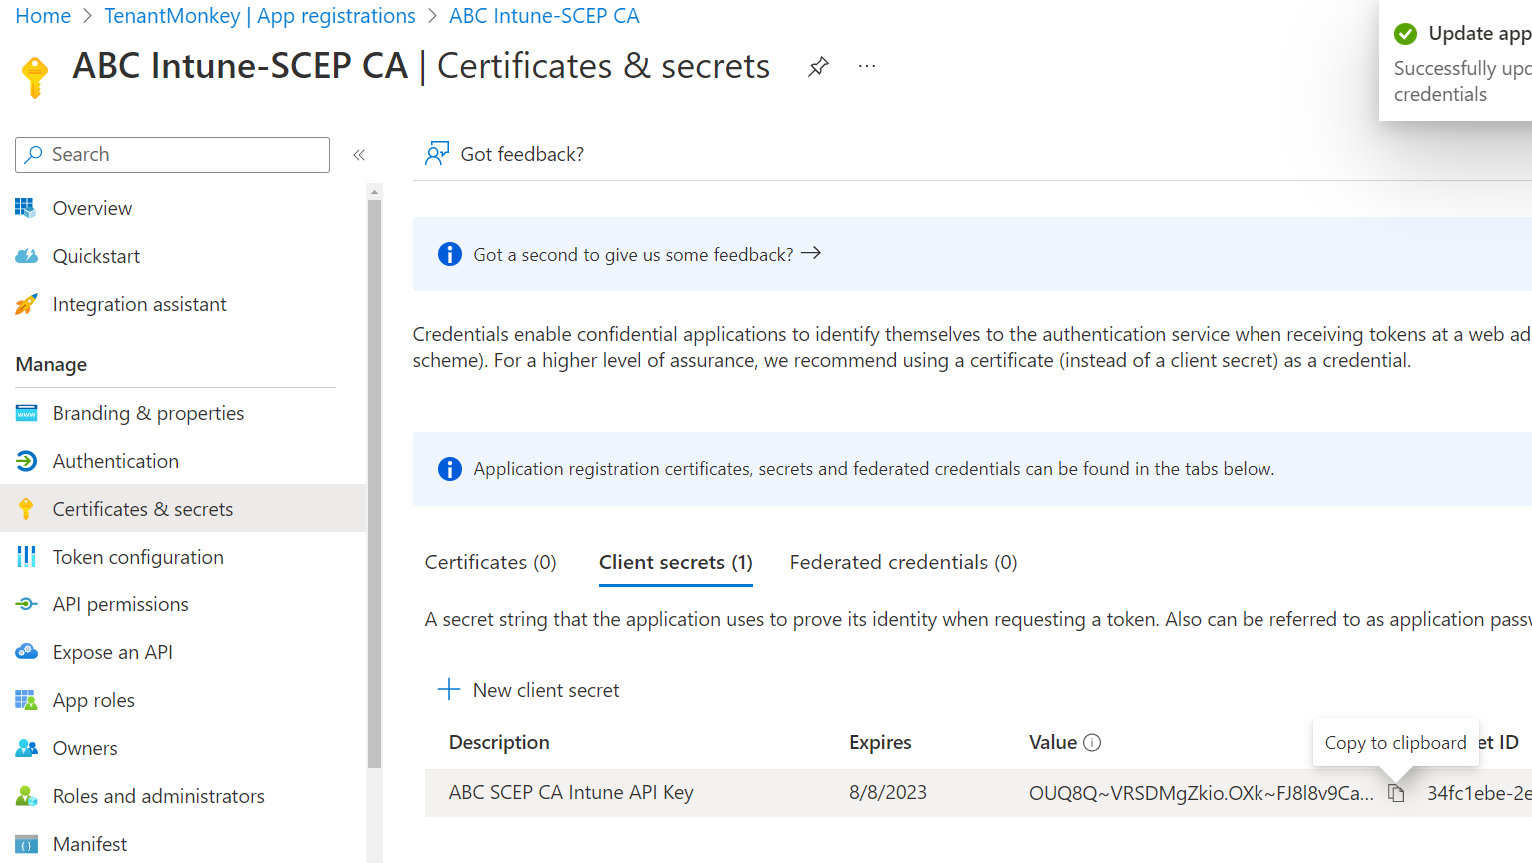
Click Add a certificate or secret to display the Certificates & secrets page.
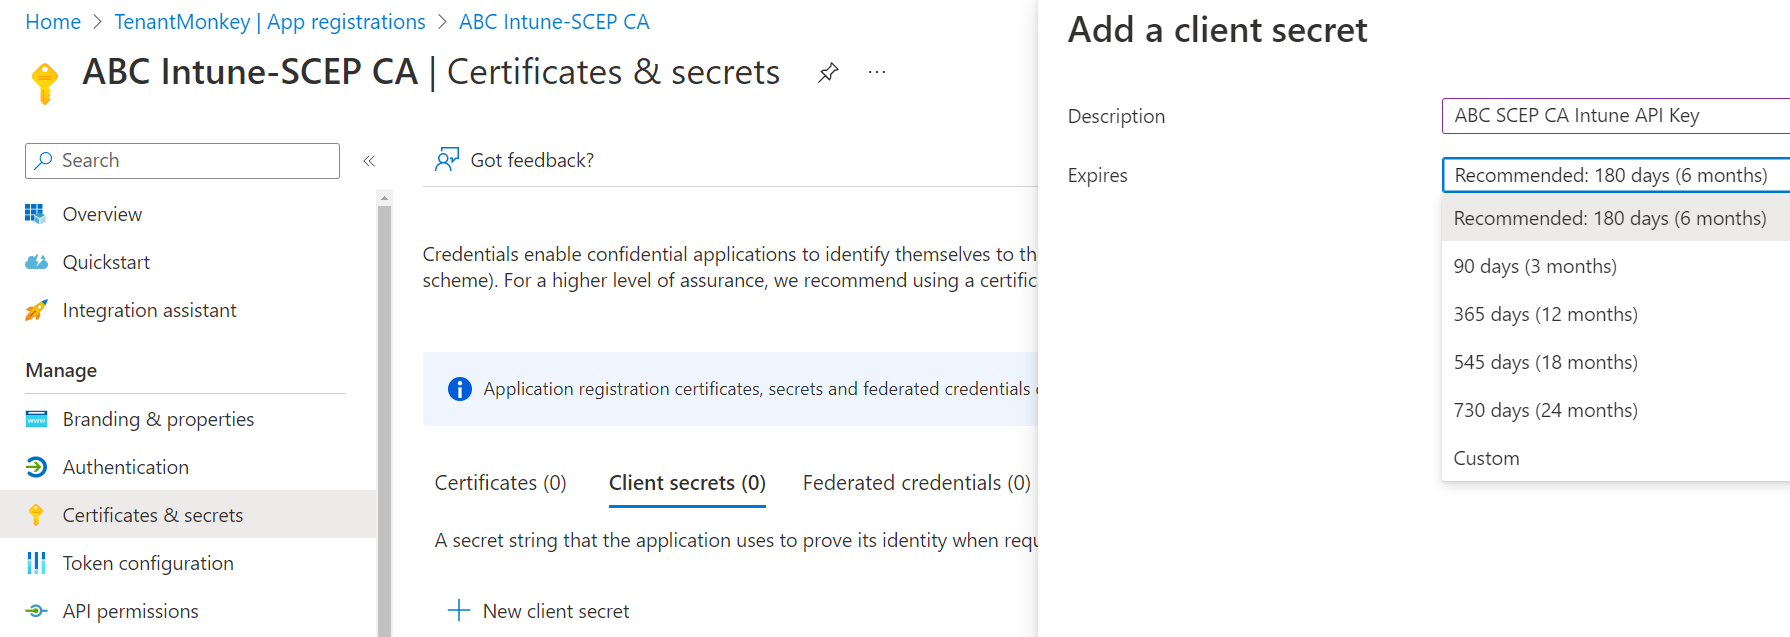
Click New client secret to display the Add a client secret dialog.
In the Description field, write a description of the new secret.
In the Expires drop-down list, select the expiration date of the new secret.
Click Add to add the new secret and close the Add a client secret dialog.
On the Certificates & secrets page, copy the Value of the new secret in a text file. You will use this value when Configuring an Entrust-hosted Certificate Enrollment Gateway for Intune.
The secret value will no longer be available after leaving this page.
In the navigation sidebar, click API permissions to display the API permissions page.
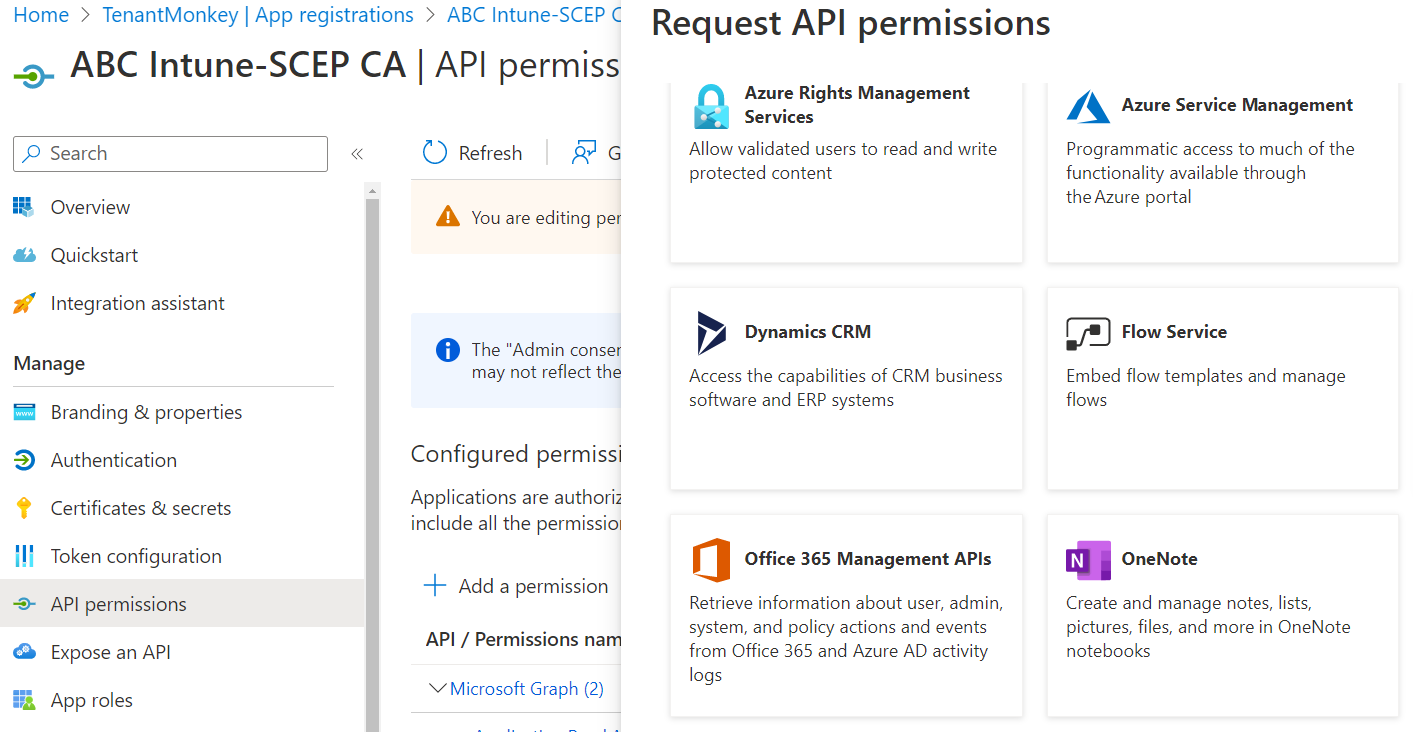
Click Add a permission to display the Request API permissions sidebar.
In the Request API permissions sidebar:
Click Microsoft Graph.
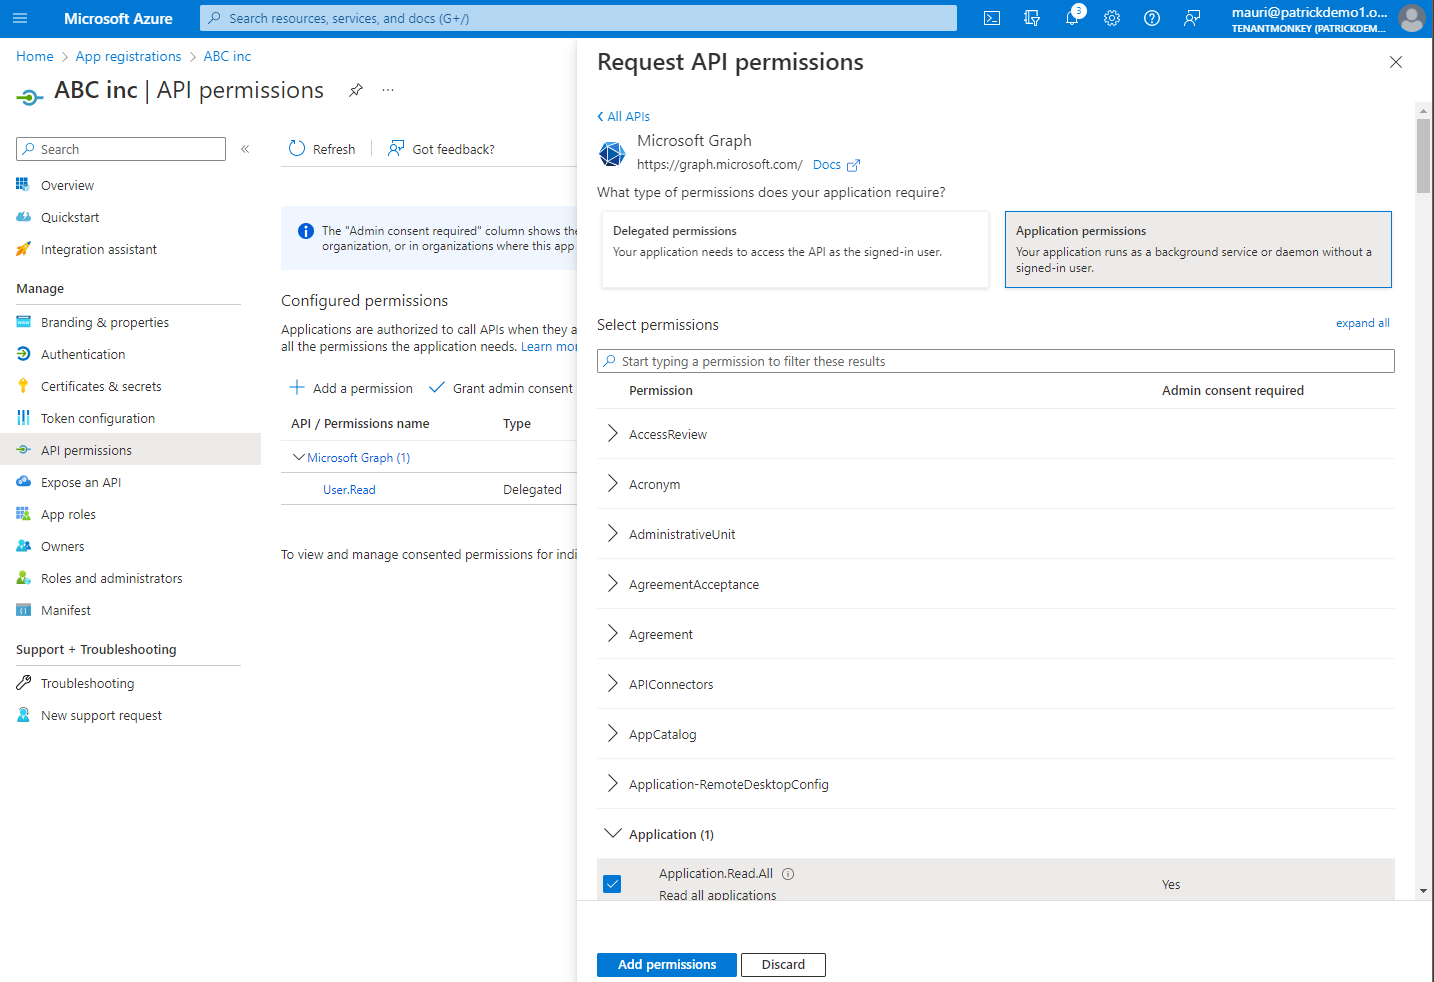
Click Application permissions.
Under Select permissions, expand the Application list and select the Application.ReadAll permissions.
Click Add permissions.
Click Add a permission to display the Request API permissions sidebar again.
In the Request API permissions sidebar:
Click Intune.
Click Application permissions.
Under Select permissions, select the scep_chanllenge_provider permission.
Click Add permissions.
On the API permissions page, click Add admin consent for the TenantMonkey for granting these permissions to the new Intune application.