Follow the steps below to deploy a cluster of multiple Cryptographic Security Platform virtual machines.
To a cluster of Cryptographic Security Platform virtual machines with Nutanix Prism Central
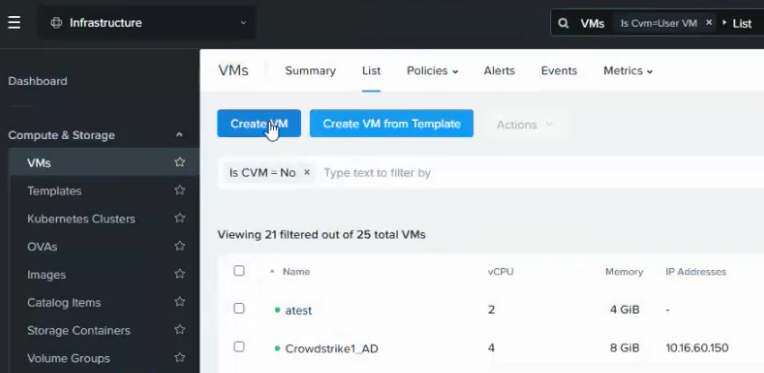
- Log into the Nutanix Prism Central web portal.
- Select Compute & Storage > VMs in the navigation sidebar and click Create VM in the content pane.
- Fill in the forms on each page of the Create VM wizard.
- Click Create VM.
Configuration
Configure the following settings in the Configuration page of the Create VM wizard.
Setting | Value |
|---|---|
Name | Enter a unique name for the new virtual machines. |
Description | Enter an optional description for the new virtual machines. |
Cluster | Select the Nutanix cluster that will host the virtual machines. |
Number of VMs | Select the number of virtual machines you want to create. |
CPU | Enter the number of cores recommend in Machine requirements. |
Cores Per CPU | Select 1 |
Memory | Enter the RAM size recommended in Machine requirements. |
Resources
In the Resources page of the Create VM wizard, click Attach Disk and configure the following settings.
Setting | Value |
|---|---|
Type | Select CD-ROM. |
Operation | Select Clone from Image. |
Image | Select the image imported or uploaded in Uploading the Cryptographic Security Platform image to Nutanix. |
Bus Type | Select SATA. |
Click again Attach Disk and configure the following settings in the Attach Disk dialog.
Setting | Value |
|---|---|
Type | Select Disk. |
Operation | Select Allocate on Storage Container. |
Storage Container | Select a storage container for the disk of the Cryptographic Security Platform virtual machine. |
Capacity | Select at least 1 TiB (1024 GiB) as explained in Machine requirements. |
Bus Type | Select SCSI. |
Under Network, click Attach to Subnet and select a subnet meeting the Requirements.
Under Boot Configuration, select either Legacy Boot or UEFI.
Management
In the Management page of the Create VM wizard, click the Timezone drop-down list and select a timezone for the new virtual machine.
Review
In the Review page of the Create VM wizard, check the settings of the new virtual machine and edit them if required.