Follow the steps below to add a list of allowed Subject Alternative Names (SANs).
To create an allowed SANs list
Open the following URL in a Web browser.
https://<hostname>/v2/Where
<hostname>is the IP address or domain name selected in General.- Log in to the Certificate Authority user interface as a user with the Owners or CA Administrators roles on a partition.
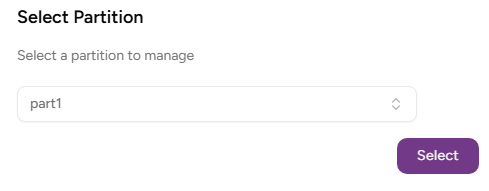
- Select the partition on which to manage certificate authorities and certificates.
Click Certificate Authorities in the sidebar and select the Allowed SANs tab.
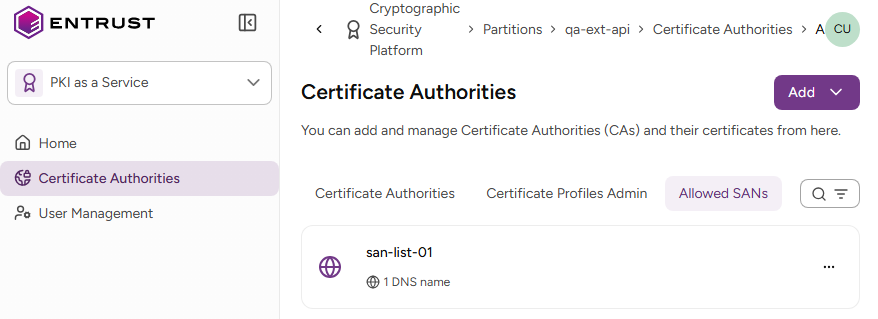
- Select Add > Allowed SANs list.
- Configure the following list settings.
- Click Add.
- When Creating an issuing subordinate authority, select the new SAN list.
Allowed SANs List
The unique identifier of the new list.
Hostnames
The list of allowed DNS hostnames. For each hostname, select the corresponding scope.
- See below for an example of Domains or subdomains scope. DNS name
example.com, *.example.comMatched domainsexample.comwww.example.comapi.example.comsub.api.example.com - See below for an example of a Subdomains only scope.DNS name
*.example.comMatched domainswww.example.comapi.example.comsub.api.example.com - See below for an example of Exact match scope.DNS name
example.comMatched domainexample.com
Networks
The allowed IPv4 and IPv6 network ranges, in CIDR (Classless Inter-Domain Routing) notation.
<IP_address>/<prefix_length>See below for sample values.
IPs from 192.168.1.0 to 192.168.1.255
192.168.1.0/24Single IP address
10.0.0.5/32IPv6 network
2001:db8::/32