Use an Azure Local keyset when CSP Vault for Cloud Keys does not connect directly to Azure Managed HSM. With an Azure Local keyset, you must manually upload the hold-your-own-key (HYOK) root certificate to the CSP node and create the corresponding external key in Azure Managed HSM. Complete the following procedures to configure an Azure Local keyset with Azure Managed HSM EKM:
Prerequisites
Before you begin, make sure you have obtained the following information:
- From your appliance administrator:
- Common name of the CSP deployment
- HYOK root CA certificate of the CSP deployment
- From Azure Managed HSM:
- Client Common Name
- Client Root Certificate
To add HYOK root certificate
Add the HYOK root CA certificate to configure the Azure Managed HSM connection for an Azure Local keyset.
- Log in to the Cryptographic Security Platform Vault for Cloud Keys webGUI using an account with Cloud Admin privileges.
- From the menu at the top, select CLOUDKEYS.
- Select the Key Sets tab.
- Select the Azure Local keyset.
- Select the HYOK Root Certificates tab.
- Select +Add. The Add HYOK Root Certificate window appears.
- For the Client Common Name field, enter the client common name that you obtained from Azure Managed HSM.
- For Client Root Certificate, select Load File. The Open window appears.
- Select the root CA certificate that you obtained from Azure Managed HSM.
- Click Open.
- Click Add Certificate. A success message appears, prompting you to restart the webserver for the changes to take effect.
- Go back to the Key Sets tab.
- From the Actions drop-down list, select Restart Webserver. The following Restart Webserver window appears.
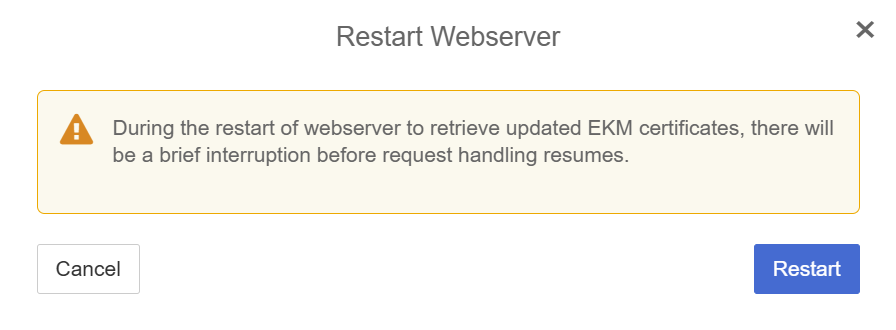
- Click Restart. A success message appears.
To configure Azure Managed HSM for an Azure Local keyset
Provide the following information when configuring Azure Managed HSM:
- Keyset EKM path prefix: This value combines the publicly routable address of the CSP cluster with the MHSM EKM Path Prefix value from the keyset object. For example:
https://<fqdn-of-csp>/azureekm/<unique-guid>.To obtain the the EKM Path Prefix of the Azure Local keyset, complete the following steps:
a. From the Key Sets Actions drop-down menu, select the required Azure Local keyset.
b. Select the Details tab. Details of the Azure Local keyset appear.
c. Scroll to the EKM Path Prefix field.
- Common name of the CSP cluster
- Root issuing CA certificate for the CSP cluster's external webserver certificate.
For information about configuring Azure Managed HSM, see the Microsoft Azure documentation.
To create an EKM key for an Azure Local keyset
- Log in to the Cryptographic Security Platform Vault for Cloud Keys webGUI using an account with Cloud Admin privileges.
- From the menu at the top, select CLOUDKEYS.
- Select the CloudKeys tab.
- From the Key Set drop-down list, select the required key set.
- From the Type drop-down list, select Key Vault.
- From the Actions drop-down list, select Create CloudKey. The Create CloudKey window appears.
- Under Details, complete the following actions:
- Select HYOK Key.
- In the Name field, enter a name for the CloudKey.
- Click Continue. The Settings section of the Create CloudKey window appears.
- From the Cipher drop-down list, select one of the following options:
- AES-256
- RSA-2048
- RSA-3072
- RSA-4096
- Click Continue. The Schedule section of the Create CloudKey window appears.
- Leave all settings unchanged and click Continue. The Alerts section of the Create CloudKey window appears.
- Click Apply. A success message appears, confirming that the CloudKey was created.
Note the HYOK Reference ID of the cloud key you just created. You need he information to create the corresponding external key in Azure Managed HSM. For information about creating the corresponding external key in Azure Managed HSM, see the Microsoft Azure documentation.
To obtain the HYOK Reference ID of the CloudKey, complete the following steps:
a. Click the CloudKey that you just created.
b. Select the Details tab. Details of the CloudKey appear.
c. Scroll to the HYOK Reference ID field.